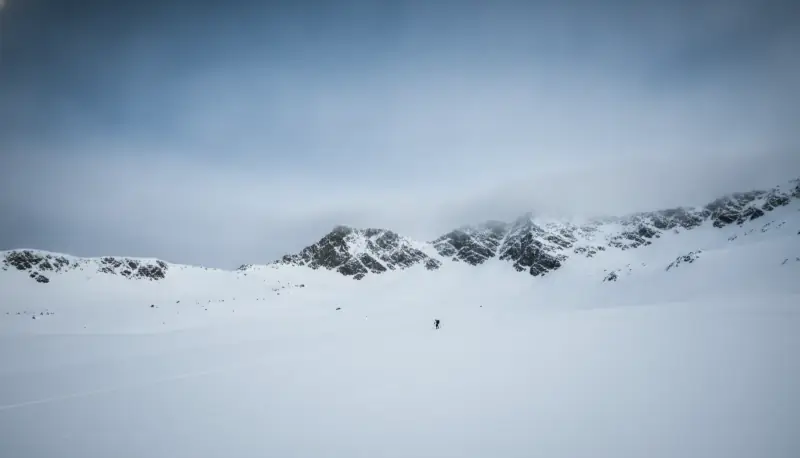
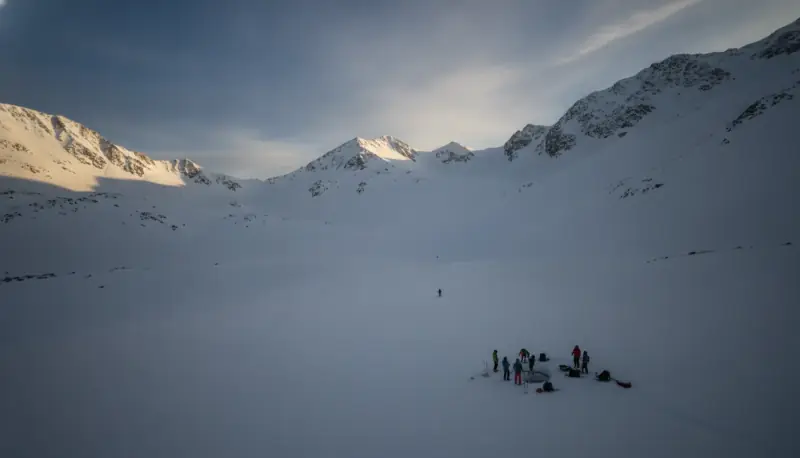
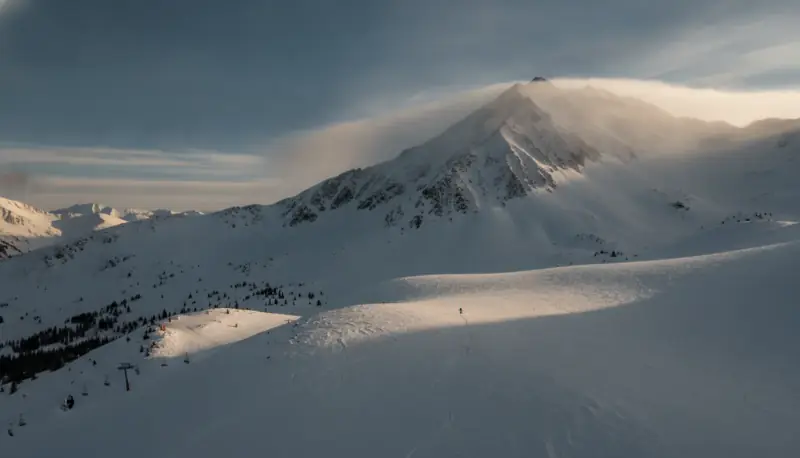
Skinning is the fundamental skill that unlocks the backcountry. While resort skiers ride lifts, backcountry skiers climb, and climbing is what makes backcountry touring possible. Your skins are simple: strips of synthetic or mohair material that glue to your ski bases and grip snow when you're ascending, then peel off when you're ready to descend. But the mechanics are just the beginning. Skinning is rhythm, fitness, and technique combined into one sustained effort. Get it right, and a 2,000-foot climb feels manageable. Get it wrong, and you'll be fighting your gear the entire way up. This guide walks you through the entire process, from choosing the right skins to finding your pace, so you can earn your turns.
What Skins Are and How They Work
Climbing skins adhere to your ski bases through pressure-sensitive glue. The plush fibers (the nap) all lie pointing back toward the tail of the ski, which creates one-way traction. Slide the ski forward and the fibers lie flat so the ski glides; the moment the ski starts to slip backward down the slope, those fibers stand up and bite into the snow and stop the slide. That grip-on-the-backstroke is what lets you walk uphill on snow. Skin material is a grip-versus-glide tradeoff: nylon skins are durable and affordable with the best grip, but they glide poorly; mohair glides best and weighs less, but it's pricier and wears out faster; blends (commonly around 70/30 mohair/nylon) split the difference and are the popular middle ground for most skiers.
Skins come in different widths, typically 95mm to 130mm. Your width should match your ski width within a few millimeters, too narrow and you'll slip sideways, too wide and they'll overhang and collect snow. Most manufacturers offer skins pre-cut for specific ski models, but universal skins with trimming guides are common and cost-effective. The glue matters as much as the nap. Fresh glue grips well; aged or contaminated glue fails unpredictably. Backcountry skiers reglue or replace skins annually or every few seasons, depending on use and climate. Store skins in a cool, dry place glued-side-together between uses to preserve adhesion. Never leave them glued-side-out in your pack where they'll accumulate lint and moisture.
Choosing the Right Skis and Skins for Your Goals
Not all skis are made equally for skinning. Resort skis tend to be wider and heavier, they're built for speed and stability in variable conditions, but they punish you on the climb. Backcountry skis, also called touring or AT (alpine touring) skis; the terms mean the same thing, are narrower, lighter, and designed for a reasonable balance between climbing efficiency and descent performance. Within that touring category there's a spectrum: lighter, narrower skis favor long traverses and moderate angles, while wider, sturdier touring skis add weight but reward skiers descending steep terrain. As a beginner, a touring ski in the 90–100mm underfoot range gives you enough float for untracked snow without the weight penalty that the burliest setups impose.
Matching skins to your skis is straightforward: buy the width that corresponds to your skis and trim to fit. One thing to know about glue: most skins ship with a single all-season adhesive that handles the normal range. Cold generally makes any glue less tacky and more brittle, while spring warmth and wet snow attack it from the other side. A dedicated skimo racer might keep separate warm and cold glue sets, but for most skiers a quality single glue is plenty, just test it on a short tour before committing to a long day. A skin that delaminates halfway up a climb is a miserable lesson learned the hard way. Look for skins from reputable manufacturers; bargain skins with poor glue formulas will cost you far more in frustration than they save upfront. Quality skins grip consistently across a full climbing season.
Attaching Skins: The Step-by-Step Process
Start with clean, dry ski bases. Snow and ice destroy adhesion, so wipe your bases with a cloth before applying. Hook the tip loop over the nose of the ski first, this anchors the skin and sets its centering, then peel the backing and press the skin down from tip to tail, smoothing as you go to avoid trapping air. Center it so an even margin of base shows along each edge; a skin that wanders off to one side collects snow and loses grip. Press the whole length down firmly with your hand, then seat the tail clip if your skins have one. Repeat on the second ski.
Trimming is a one-time job when your skins are new. If they're universal (trim-to-fit) rather than pre-cut for your model, they'll come with excess at the tail, and the tail hardware needs to sit flush against the ski. Use the included trim tool or trim line as a guide and cut with a sharp blade. A sloppy tail trim leaves a gap where snow packs in, killing adhesion and wasting energy. Once they're sized, the tip loop should seat fully over the ski nose and the tail clip (if fitted) should be secure. Check neither will slip. Walk a few paces to verify the skins are locked on. If either one feels loose or starts to peel, pull it, clean the base thoroughly, and re-set it.
Removing skins after a descent is equally important. Let your skins cool slightly, they peel more cleanly when they're not hot. Peel from the heel or tail working lengthwise, keeping tension parallel to the ski to avoid tearing the skin. Some skiers peel from the toe; either direction works. Roll the skin into a bundle and store it in your pack glued-side-together to protect the adhesive and prevent it from picking up dirt. Never leave a peeled skin exposed to sun and dust; it'll dry out and lose stickiness.
The Rhythm of the Skin Track
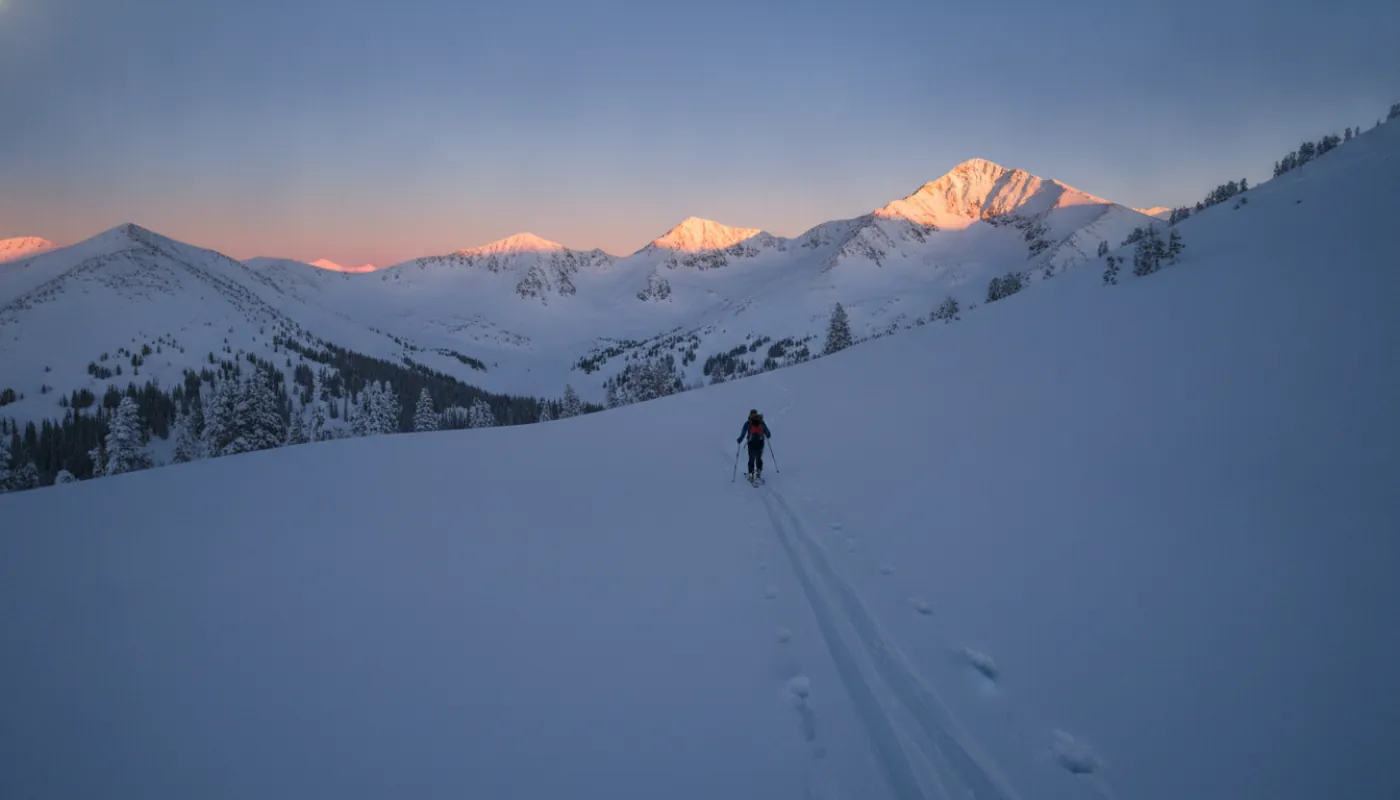
Skinning is a pace, not a race. Your goal is to climb at a speed you can sustain for hours, breathing steadily without gasping. The packed uphill route you follow is called the "skin track", usually broken in by whoever climbed before you, and setting or following a good one at a steady pace is half the battle. Start slow. Many beginners go too fast on the first 500 feet and bonk halfway up the climb. Settle into a rhythm where you can talk in short sentences. Your legs should feel engaged but not burning. As your fitness improves, your sustainable pace will accelerate, but the rhythm stays the same.
Footwork matters. Make short, deliberate steps rather than long strides. Each step should be placed decisively, with your weight fully committing to that ski before you lift the next foot. This technique maximizes skin contact and minimizes slipping. On steep pitches, traverse at an angle rather than ascending straight up; you'll climb at a more sustainable angle and put less strain on your calves. Your poles help, too. Pole plants give your upper body something to do and reduce the load on your legs, especially on longer traverses.
Watch your timing. Most backcountry ascents take place in the morning or early afternoon when snow is firm. If you're climbing in the afternoon and the snow has softened, you'll sink and slog. Wet spring snow requires a faster pace to avoid postholing and excessive suction. Cold morning snow is fast and firm; time your ascent accordingly. Learn to read conditions as you climb, adjusting your pace to the snow you're actually on, not the snow you expected.
Common Mistakes and How to Avoid Them
The first mistake is trusting a cheap glue or a skin set that's past its prime. If your skins are delaminating or sliding, they're the problem, not your technique. Replace them. The second mistake is a poor heel trim. A baggy heel pocket fills with snow on climbs and kills your adhesion halfway up. Measure twice, cut once. The third mistake is climbing too aggressively at the start. You're going to be in the backcountry for hours. Conserve energy and climb steady.
A fourth pitfall is neglecting your skin storage. Skins glued directly to your pack or left exposed in your car will harden and lose grip. Store them properly in a cool place, glued-side-together. If your glue does age, you can reglue them using commercial skin adhesives, a straightforward job that restores adhesion and buys you seasons more use, though the plush itself eventually wears out and no reglue fixes that.
Finally, don't ignore the feedback your skins give you. If one ski is slipping more than the other, it's not random, something's wrong. Maybe the glue is contaminated on that side, or the trim is uneven. Stop, diagnose, and fix it. The earlier you address a problem, the earlier you'll enjoy the climb. Skinning is a skill that improves with every tour. Each climb teaches you something about snow, pace, and your own limits. The backcountry rewards preparation and attention to detail.